

Powder Coating Allowance for Sheet Metal Parts That Need to Fit
Time : Oct 29, 2026 View : 1
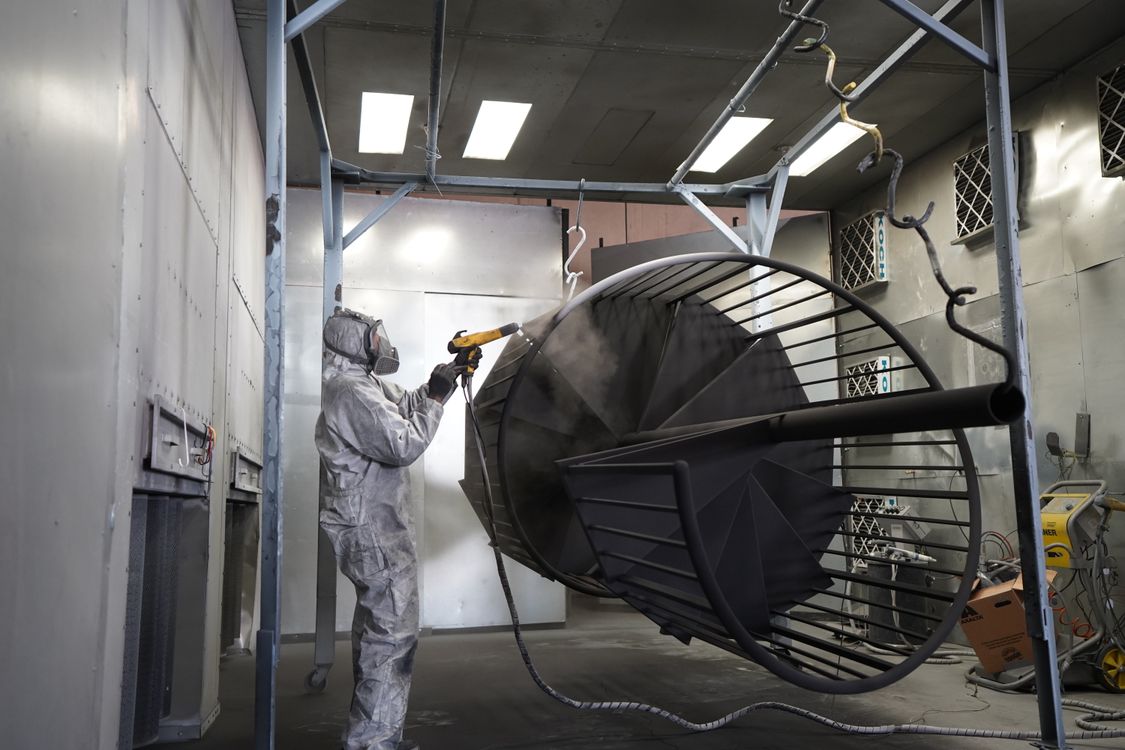
The cover goes on easily before finishing. After powder coating, it catches halfway down. Someone reaches for a rubber mallet.
Stop there. A tight cover can scrape its new finish off during the very first assembly.
The awkward thing about powder coating allowance is that you can lose clearance on both parts at once. The opening gets smaller while the cover gets bigger. Across that one width, you may have four coated surfaces taking up room. So the useful question at drawing review is how much space will be left after finishing, including the variation allowed in the metalwork. A bare-metal trial won’t show you that loss.
How Much Clearance Does Powder Coating Take Away?
Start with thickness on one face. A 0.08 mm coating means 80 micrometres on that face. It doesn’t mean 0.08 mm added to the whole part.
Coat both sides of a flat panel and its overall thickness grows by 0.16 mm. Coat the wall of a hole evenly and the diameter shrinks by the same amount. The hole center hasn’t moved. The space inside it has changed.
Now picture a removable cover fitting between two enclosure walls. The walls gain coating inward. The cover gains coating outward on both edges. Four surfaces use up the original clearance.
Put some numbers to that cover. Suppose the opening measures 100.00 mm before coating and the cover measures 99.50 mm. We’ll use 0.08 mm of coating per face for this example.
The coating uses up 0.16 mm inside the opening, leaving 99.84 mm. Meanwhile, the cover grows to 99.66 mm. Subtract one from the other and the gap is down to 0.18 mm. Center the cover perfectly and you have 0.09 mm either side. That’s quite a change from the half-millimetre gap you started with.
The metal sizes deserve another look, too. Suppose each bare width carries a ±0.10 mm tolerance. Your opening could arrive at 99.90 mm and the cover at 99.60 mm. Both would be acceptable metalwork. But the gap between them is now only 0.30 mm, and the four coating layers still need 0.32 mm. There’s a 0.02 mm interference waiting at assembly.
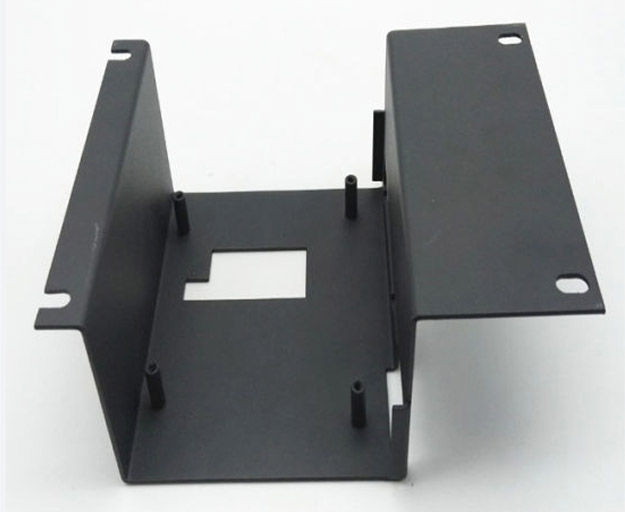
This is a useful conversation to have before laser cutting and bending. How thick can the finish be and still pass? That upper limit belongs in the clearance calculation. Recesses and small holes can coat differently from exposed faces, which is another reason to check the finished fit itself.
Which Holes and Contact Areas Need Masking?
A screw thread is an obvious place where extra powder is unwelcome. An electrical contact can be less obvious because the assembly may look perfectly normal. Both need attention on the masking drawing, for different reasons.
Keep Threads and Locating Fits Clear
An M4 screw that starts in bare metal may bind once powder reaches the thread. You might get it seated with a powered driver. But where did the displaced coating go? Inside an electronics enclosure, loose flakes around the screw are hardly an improvement over a blocked hole.
Mark threaded holes for masking when the assembled joint needs clean threads. State whether the requirement covers the whole thread or an adjacent seating face as well. A plug in the hole doesn’t automatically protect the flat area beneath a screw head.
A locating pin gives you a different problem. Its hole has to hold a position, whereas the bolt hole beside it may only need enough room for assembly. Adding clearance to both can cure the blocked bolt hole and leave you with a loose locator. The hole’s job decides whether you enlarge it or keep powder out.
Give Electrical Contacts a Defined Bare Area
The lug may be tight against the panel, yet still be sitting on an insulating layer. A good-looking painted surface doesn’t tell you whether the electrical connection beneath the washer is sound.
Give that connection enough bare metal for its actual contact footprint. “Mask grounding point” is a thin instruction if nobody can tell where the mask stops. A dimensioned patch is much easier to inspect. For a joint exposed to moisture, agree how the bare area will resist corrosion while retaining the required contact.
What Should Your Powder Coating Drawing Specify?
If a drawing says 100.00 mm, does that mean the opening in bare metal or the opening the assembler receives? Put “after coating” beside a finished fit dimension. Where a separate fabrication size is needed, mark that “before coating.”
Give the coating a thickness range, rather than a color alone. Our coating inspection target of 60–80 micrometres gives a sense of the scale involved. At 80 micrometres, two opposing coated faces consume 0.16 mm of a gap. A different finish specification needs its own calculation.
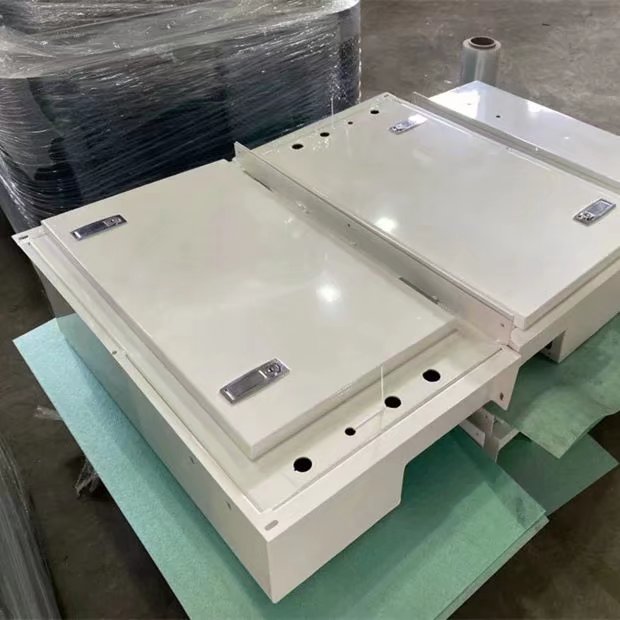
A mask leaves a boundary. If that boundary crosses a seal or bearing face, include its position in the drawing review. With overlapping lips in an enclosure design, check the short return flanges too. The main opening can have plenty of space while one small lip stops the cover going home.
How Do You Check Fit After Powder Coating?
Resist the temptation to judge the cover with all its screws tightened. They can pull a reluctant panel into place and hide the point where it binds. For the initial trial, use the cooled parts with masking removed and no screws. A cover that stops short has already told you something useful. Find the contact mark while it’s still a small rub.
Where was the coating thickness measured? A broad flat panel is easy to reach. A narrow opening is a different measurement problem, and the equipment has to suit both the base material and the available access. The nearby panel reading may not account for the tight spot.
Check specified threads with the correct gauges. Run the intended fastener through its working engagement too. Record the finished opening and cover widths together, so a tight fit can be traced to the metal sizes or the coating allowance.
One pair fitting nicely is a useful start. The smallest permitted opening still needs to accept the largest permitted cover.
Where Should You Start with a Tight-Fitting Cover?
Find the exact faces that touch. Mark them on a section view, then count the coating layers across that gap. If the allowance is uncertain, send us the mating detail with the required finished clearance. We can work through the metal dimensions and masking positions before the next cover is cut.
FAQ
Can You Use One Powder Coating Allowance for Every Part?
No. Use the agreed coating range and count the affected surfaces. A single coated face meeting bare metal loses less clearance than two coated parts nesting inside each other. Geometry changes the answer.
Should You Enlarge Every Hole Before Powder Coating?
No. A bolt hole with room to spare and a close-fitting pin hole need different treatment. Work from the finished hole requirement; making every cutout larger can leave the assembly with movement you never intended.
Can You Tap Threads After Powder Coating?
Yes, provided you’ve planned for the exposed metal and the debris left by cutting. The finish around the entrance can also chip. Where the thread can be masked reliably, we’d usually rather keep the powder out in the first place.
Does a Bare-Metal Prototype Prove the Finished Parts Will Fit?
Only at the bare-metal stage. A finished trial adds information the earlier one couldn’t give you. Even then, a roomy prototype pair doesn’t settle whether a cover at its maximum permitted width will enter an opening at its minimum.
