
How to Control Welding Distortion in Large Sheet Metal Enclosures
Time : Jul 30, 2026 View : 46
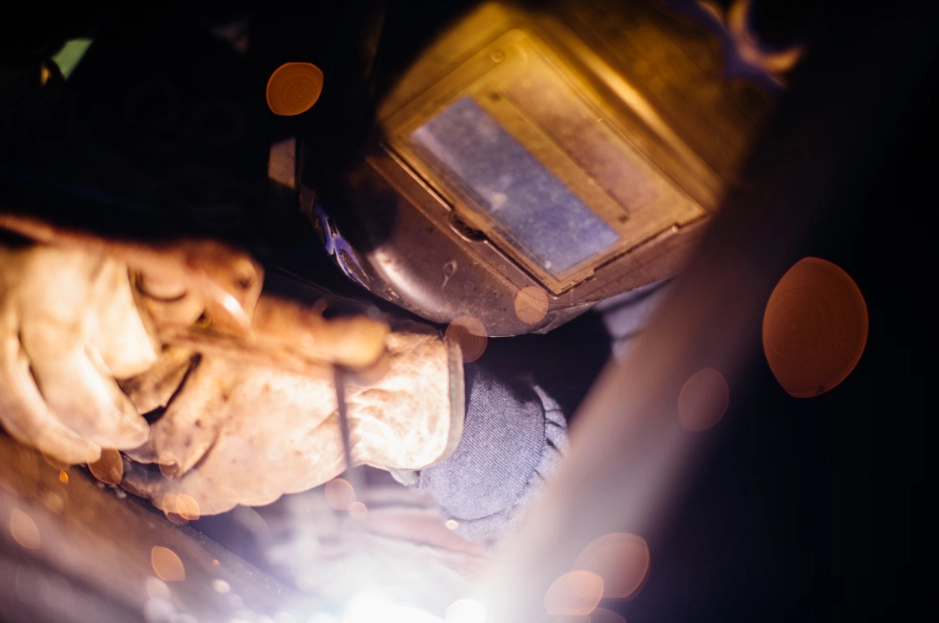
Large sheet metal enclosures rarely leave the welding table unchanged. A door opening pulls out of square. A broad side panel develops a shallow dish.
The cause is cumulative: heat, shrinkage, joint layout, fixture stiffness, and welding order.
What Causes Welding Distortion in Large Sheet Metal Enclosures?
Welding heats a narrow area while the surrounding sheet stays cooler. The hot metal expands, then contracts during cooling. Because the plate cannot move freely, that contraction pulls the assembly out of shape.
Thin, wide panels are especially sensitive. They collect heat but lack stiffness. Long continuous welds make the effect worse because shrinkage builds in one direction.
Fit up matters too. A variable gap requires extra filler metal. Oversized fillet welds do the same.
How Should an Enclosure Be Designed to Minimize Distortion Before Welding?
Distortion control starts on the drawing. Once a large box has long welds on one side and little support, production has limited room to recover.
Reduce Unnecessary Weld Length and Weld Metal
Use bends, flanges, tabs, slots, and formed returns where they can replace welded seams.
Weld size should match the load and sealing requirement. Intermittent welds may suit non-sealed internal joints. Continuous welds belong where strength, stiffness, or leak resistance demands them.
Balance the Enclosure Structure
Welds on one side pull toward that side. Opposed or symmetrical welds help balance shrinkage.
Large flat areas need stiffness. A return flange, shallow rib, internal rail, or hat section stiffener can change the behavior of the panel.
How Can Fixtures, Tack Welds, and Presetting Keep the Assembly Stable?
A fixture should protect functional datums, not simply clamp the easiest edges. It must hold the assembly without trapping excessive stress.
Use a Fixture Based on Functional Datums
Door openings, base rails, mounting flanges, and main corner lines need reliable location points.
Over clamping is risky. The enclosure may look perfect while restrained, then spring out of shape after release.
Plan Tack Welding and Presetting
Tack welds should be small, consistent, and balanced. Large random tacks may pull a seam before production welding begins.
On a long joint, tack from the center outward or use a balanced pattern from opposite ends. Check diagonals after tacking.
Presetting can help. Clamp the panel slightly against the expected pull, using trial data rather than guesswork.
Which Welding Process and Parameters Help Reduce Heat Input?
No process removes distortion by itself. Process choice changes travel speed, arc concentration, and how long heat remains in the panel.
Select the Process for the Joint and Material
|
Welding process |
Typical use |
Heat control advantage |
Main limitation |
|
MIG/MAG |
Frames and general seams |
Fast and productive |
Easy to oversize welds |
|
TIG |
Visible stainless or aluminum joints |
Precise arc control |
Slow travel may add heat |
|
Pulsed MIG/TIG |
Thin stainless and aluminum |
Lower average heat input |
Stable setup required |
|
Spot welding |
Overlapped sheet joints |
Small local heat zones |
Limited joint geometry |
|
Laser welding |
Long precision seams |
Fast, narrow heat zone |
Tight fit up required |
Control the Essential Welding Parameters
Use the smallest weld that meets the requirement. Keep travel speed steady. Avoid weaving on thin sheet unless needed.
Do not let heat collect in one corner. Move between separated joints and monitor interpass temperature on sensitive stainless or aluminum assemblies.
What Welding Sequence Works Best for Large Enclosure Panels?
Sequence often matters more than small parameter changes. A good sequence spreads heat and balances shrinkage before the panel pulls heavily in one direction.
Use Balanced, Back Step, and Skip Welding Sequences
Do not run a long seam from one end to the other unless the structure is stiff enough. Break it into shorter sections.
Back step welding places each short weld opposite to the general direction of progress. Skip welding moves between separated areas so one zone can cool while another is welded. On box structures, alternate between opposite sides and corners.
A useful shop floor rule: do not complete one whole side before touching the other. By then, the enclosure may already have chosen its new shape.
Provide a Practical Enclosure Welding Order
A workable order is:
- Verify fitup, gaps, diagonals, and datum locations.
- Complete balanced tack welds.
- Weld the internal frame or loadbearing structure.
- Divide long seams into short sections.
- Alternate between opposite sides and distant areas.
- Recheck the door opening, base plane, and diagonals.
- Finish visible or sealing welds after the structure is stable.
img.welding Enclosure.webp
How Should Distortion Control Change for Different Enclosure Materials?
Material changes the way the same welding plan behaves.
|
Material |
Main concern |
Distortion control focus |
|
Carbon steel |
Bowing and twist |
Weld size, sequence, and support |
|
Stainless steel |
Concentrated heat and discoloration |
Short balanced welds and temperature control |
|
Aluminum |
Rapid heat spread and sensitive fit up |
Stable fixtures, controlled gaps, and pulse settings |
Stainless can move more than expected from a small weld. Aluminum behaves differently: heat spreads quickly, yet inconsistent gaps can still pull the joint badly. Copying carbon steel settings into either material is rarely a good decision.
How Can Manufacturers Measure and Correct Distortion After Welding?
Measure after the enclosure cools and after major clamps are released. Inspection while restrained gives false confidence.
Check overall dimensions, diagonal difference, flange angle, door opening, and panel flatness. A straightedge and feeler gauge can reveal plenty. Critical mounting points may need a dedicated gauge or coordinate measuring machine.
Minor distortion can sometimes be corrected by controlled pressing or mechanical straightening. Local heat correction is possible, but careless use often moves the problem elsewhere.
Record where the panel moved, then adjust clamp position, preset amount, weld length, or sequence on the next build.
Conclusion: Build Distortion Control Into the Entire Fabrication Process
Good results come from a chain of practical decisions: sensible joint design, stable fit up, controlled heat, balanced welding, and measurement during the build. A fabrication partner should review them before production, especially on large doors and sealing frames.
Need a sheet metal enclosure that stays accurate from fabrication to final assembly?
At Deshibo Machinery, we combine precision sheet metal fabrication, CNC machining, laser cutting, bending, and professional welding expertise to help manufacturers reduce distortion risks and achieve reliable, production-ready results. From design optimization and material selection to fixture planning and final inspection, our team works closely with customers to deliver high-quality custom metal parts and enclosures.
Contact Deshibo Machinery today to discuss your next fabrication project and get a practical manufacturing solution tailored to your requirements.
FAQ
These questions usually appear during design review or first article inspection.
Q: How much welding distortion is acceptable in a sheet metal enclosure?
It depends on function. A cosmetic side panel may tolerate more movement than a door frame, sealing flange, or mounting face. Critical tolerances should be stated on the drawing.
Q: Are intermittent welds always better than continuous welds?
No. They reduce heat, but they are unsuitable for some structural or sealed joints. Use them only where strength and leak requirements allow.
Q: Can a heavy fixture eliminate welding distortion?
It can limit movement during welding, but may trap residual stress. The enclosure can spring after unclamping. Fixture design, sequence, and heat input still matter.
Q: When should weld distortion be checked?
Check after tacking, during major welding stages, after cooling, and after unclamping. Waiting until all welding is complete usually means the easiest correction window has passed.
