
Sheet Metal Fabrication Process Guide: From Drawing to Finished Part
Time : Nov 20, 2026 View : 1
A part comes off the press brake looking fine. On the assembly table it doesn’t fit — the holes miss the mating panel by a hair, and the station goes idle. The failure was made on paper, before any cutting started. Here’s the process, drawing review to delivery.
What Is Sheet Metal Fabrication?
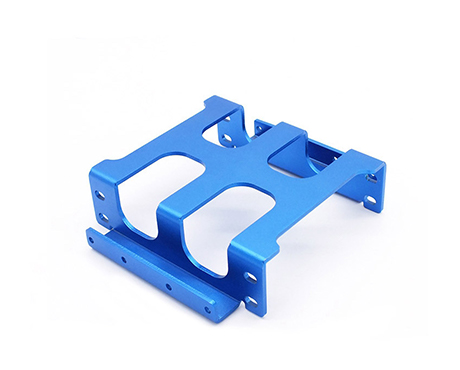
A flat sheet goes in; an enclosure comes out. In between: laser, brake, drill, welder, coating line. That round trip is sheet metal fabrication — a fixed set of operations, ordered to fit the part.
The route in practice:
Drawing review → material selection → cutting → bending → welding → surface finishing → inspection → delivery.
Step 1: Drawing Review and Design for Manufacturability (DFM)
The first stage of a sheet metal fabrication job isn’t cutting. It’s reading.
Reviewing CAD Drawings and Technical Requirements
First, does the drawing agree with the model? One job had 3.0 mm on the 2D sheet and 2.0 in the STEP file — settled in a ten-minute call. Material, thickness, tolerances, assembly fit — confirmed in the same pass.
Design for Manufacturability (DFM)
Here’s a familiar trap. A hole sits 2.5 mm from a bend line. On paper, no problem. Now form the bend. The metal near the line stretches and thins; on a 1.5 mm part the hole lands in that zone. Out of the press it’s an ellipse. Move the hole 10 mm or cut a relief, and the problem is gone. Two minutes on the drawing. A batch of scrap after bending. That’s what DFM catches before production starts: bend radius, bend direction, weld placement, assembly fit. A drawing, sketch, or CAD file all work.
Step 2: Material Selection for Sheet Metal Fabrication
Common Sheet Metal Materials
Stainless is the default: 304 indoors, 316 where the salt air is the problem. Mild steel handles structure on a budget; aluminum takes over the moment weight becomes the argument; brass covers the odd electrical job.
Choosing the Right Material
Start with where the part lives. A grade fine in a dry cabinet fails fast next to a washdown station. Then formability, weldability, budget.
Step 3: Cutting the Sheet – Laser Cutting, Punching, and Nesting
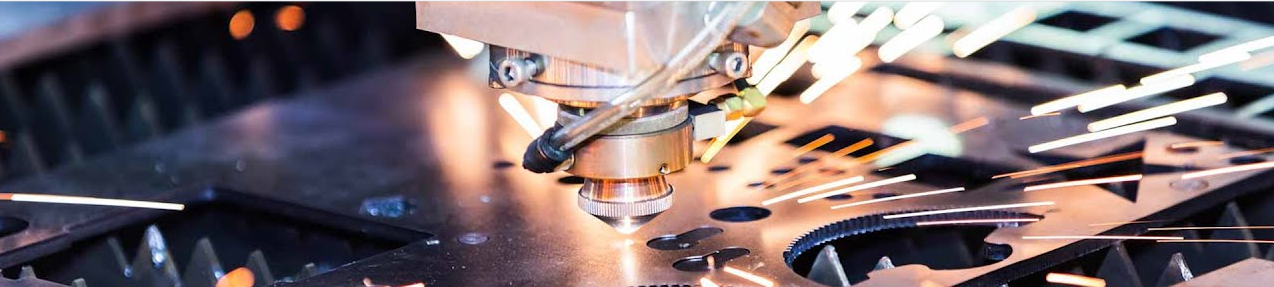
Laser Cutting for Precision Metal Parts
The laser makes the outline — profiles, holes, slots, patterns — one prototype or a full run. One number is easy to miss: the kerf, about 0.15 mm on typical steels. In a 10 mm slot, nobody notices. On a 2 mm feature holding a 0.1 mm tolerance, it has eaten half your tolerance.
CNC Punching and Material Optimization
Where the geometry repeats — the same hole array on every panel — punching beats the laser on speed. Nesting decides the material cost. Two nesters on the same order can land a few points apart; that gap is profit or scrap. Plan laser cutting and bending as one move: the cut feeds the brake; the nest sets the cost.
Step 4: Deburring and Edge Preparation
Burrs aren’t cosmetic. They cut hands at the next station; an inspector’s thumb finds them within a minute. The basic deburr clears the sharp edge. Parts bound for the coating line want a finer finish — powder clings to rough lines, and it shows. Done now, it pays off at every later station.
Step 5: Bending and Forming
How CNC Sheet Metal Bending Works
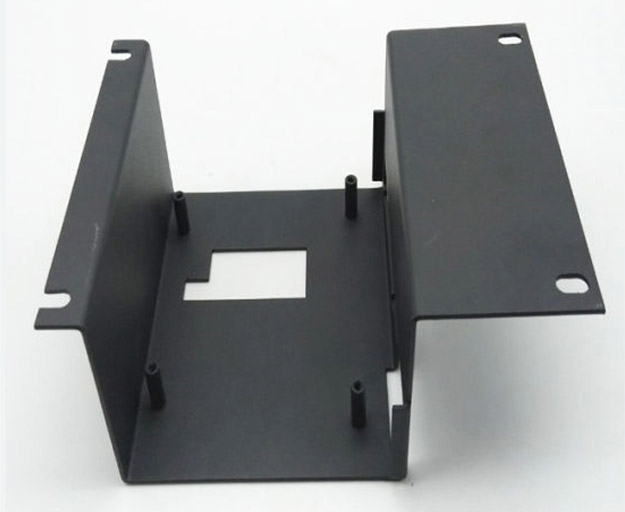
The press brake folds. A punch drives sheet into a die — V-bending, the standard operation — and the flat blank becomes a bracket, an enclosure, a panel.
Factors Affecting Bending Accuracy
Force is the first limit, and it grows fast: tonage scales with the square of thickness, so 2 mm asks for roughly four times what 1 mm does. Then allowance — the flat length each bend eats out of the blank. It shifts with material and radius. Most “flat pattern is wrong” arguments end up being allowance. Then springback. You aim for 90°, the part settles at 91°, and the machine overbends — by a different amount for every material. Sequence and tooling right, and the angle holds from part to part.
Step 6: CNC Machining and Secondary Operations
Adding Precision Features Through CNC Machining
A brake can’t hold a hole to a tenth or cut a thread, so the part moves to a mill. Drilling and milling take holes to their true positions; tapping cuts the threads.
When Is Secondary Machining Necessary?
When the mating part won’t forgive a sloppy hole — tight fit-ups, threads, precise positions — forming alone can’t deliver. Parts mixing formed panels with machined interfaces are the classic case; the sheet work and the CNC machining stay in one shop, one party owns the fit.
Step 7: Welding, Riveting, and Assembly
Welding Methods for Sheet Metal Components
MIG is the default: faster, forgiving of thin material. When the weld line has to be clean, TIG takes over. Heat twists a square box: too much in one corner and the panel warps as the weld cools. The cure is sequence — weld in the right order and the box stays square.
Riveting and Component Assembly
Some joints get rivets or bolts because they must come apart later — a service door is the obvious case. Hinges, handles, inserts get installed here too. Alignment at the bench decides whether the product closes cleanly — on a welded assembly, coordination between stations matters as much as any joint.
Step 8: Surface Finishing and Protective Treatments
Common Metal Surface Finishing Methods
Powder coating is the workhorse — a polymer layer, usually 60–80 micrometres thick. Painting covers the colors a powder catalog doesn’t. Aluminum gets anodizing instead: the finish grows into the surface rather than sitting on it.
Choosing the Right Surface Finish
The working environment sets the protection the part needs; the appearance standard sets the color; the budget sets how far you go. The rest is work you’ll never see — clean before the line, mask the threads and contact points, check the thickness after. A coated thread binds the first screw; the mask plan stops that.
Step 9: Quality Inspection, Packaging, and Delivery
Quality Inspection for Finished Metal Parts
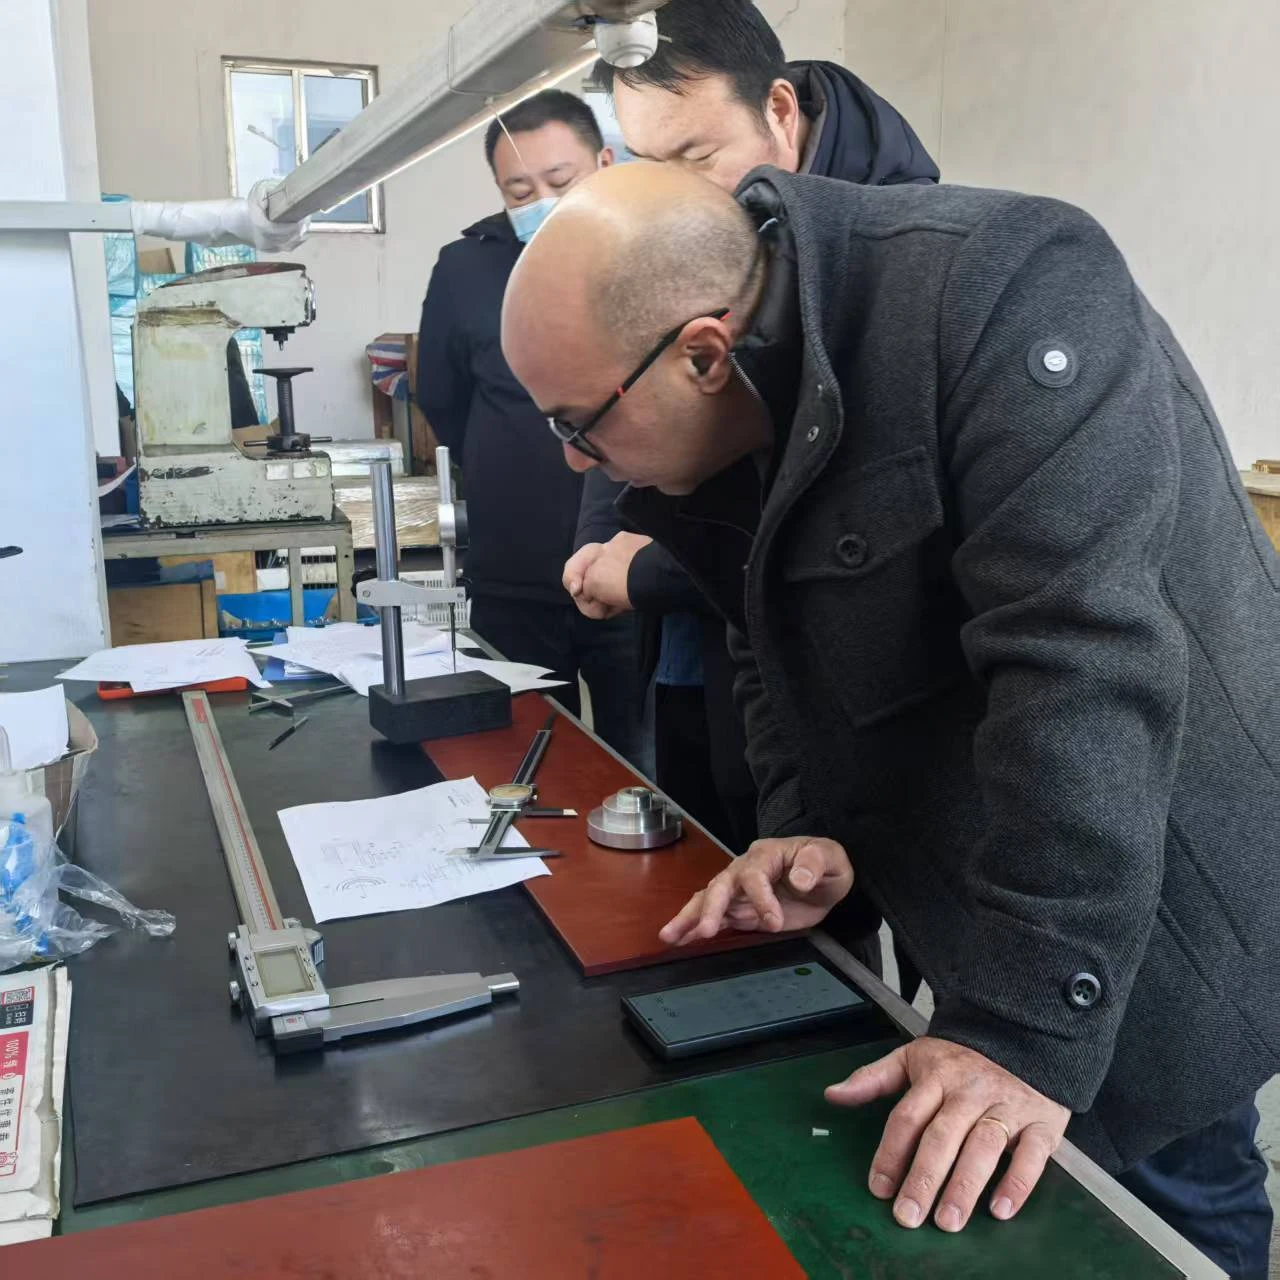
What gets checked? Dimensions inside tolerance. Holes where the drawing says. Bend angles holding. Welds free of cracks. Coating in range. That’s the point of IQC, IPQC, and OQC — checks at incoming material, in-process, finished part. Catch a defect mid-process and the fix is cheap. At final inspection it’s a claim.
Packaging and Delivery
Packing keeps the finish from scratches and the parts from bending in transit. Pack order can match the order your line pulls parts; the inspection records ride along.
What Affects Sheet Metal Fabrication Cost and Lead Time?
Material sets the base — thickness and alloy move the number more than any process choice. Every extra bend or weld adds station time; the finish adds its own line; quantity stretches the calendar. None of it is negotiable once the job is running; all of it is on the drawing. That’s why the DFM pass before quoting matters most.
What Should You Prepare Before Requesting a Sheet Metal Fabrication Quote?
The package is simple: 2D drawing with every tolerance on it, 3D model, material grade and thickness, quantity, finish, delivery requirements. Leave a piece out and the gap fills with an assumption — a missing grade becomes something pricier, a missing tolerance the shop standard. Both land in the quote; neither was your call. The part that arrives is the sum of the decisions made at every station. When your next part is ready, send the CAD drawings, the material call-out, and the specs straight to custom fabrication.
Frequently Asked Questions About Sheet Metal Fabrication
Three questions come up in nearly every quote.
1. What Are the Main Steps in Sheet Metal Fabrication?
They start the same way: review, material, cut, bend. After that, only what the part needs — welding when it joins something, finishing when the environment demands it. A bracket stops after bending.
2. What File Formats Should I Send to a Sheet Metal Manufacturer?
PDF, DWG, DXF, STEP. Tolerances live on the 2D drawing, so send that even if the rest exists. The laser reads the DXF; STEP gets flattened for the bend check.
3. Does Every Sheet Metal Part Require Welding and Surface Finishing?
No. A flange that stands alone can finish straight off the brake. You weld because the part joins something. You coat because the environment demands it.
