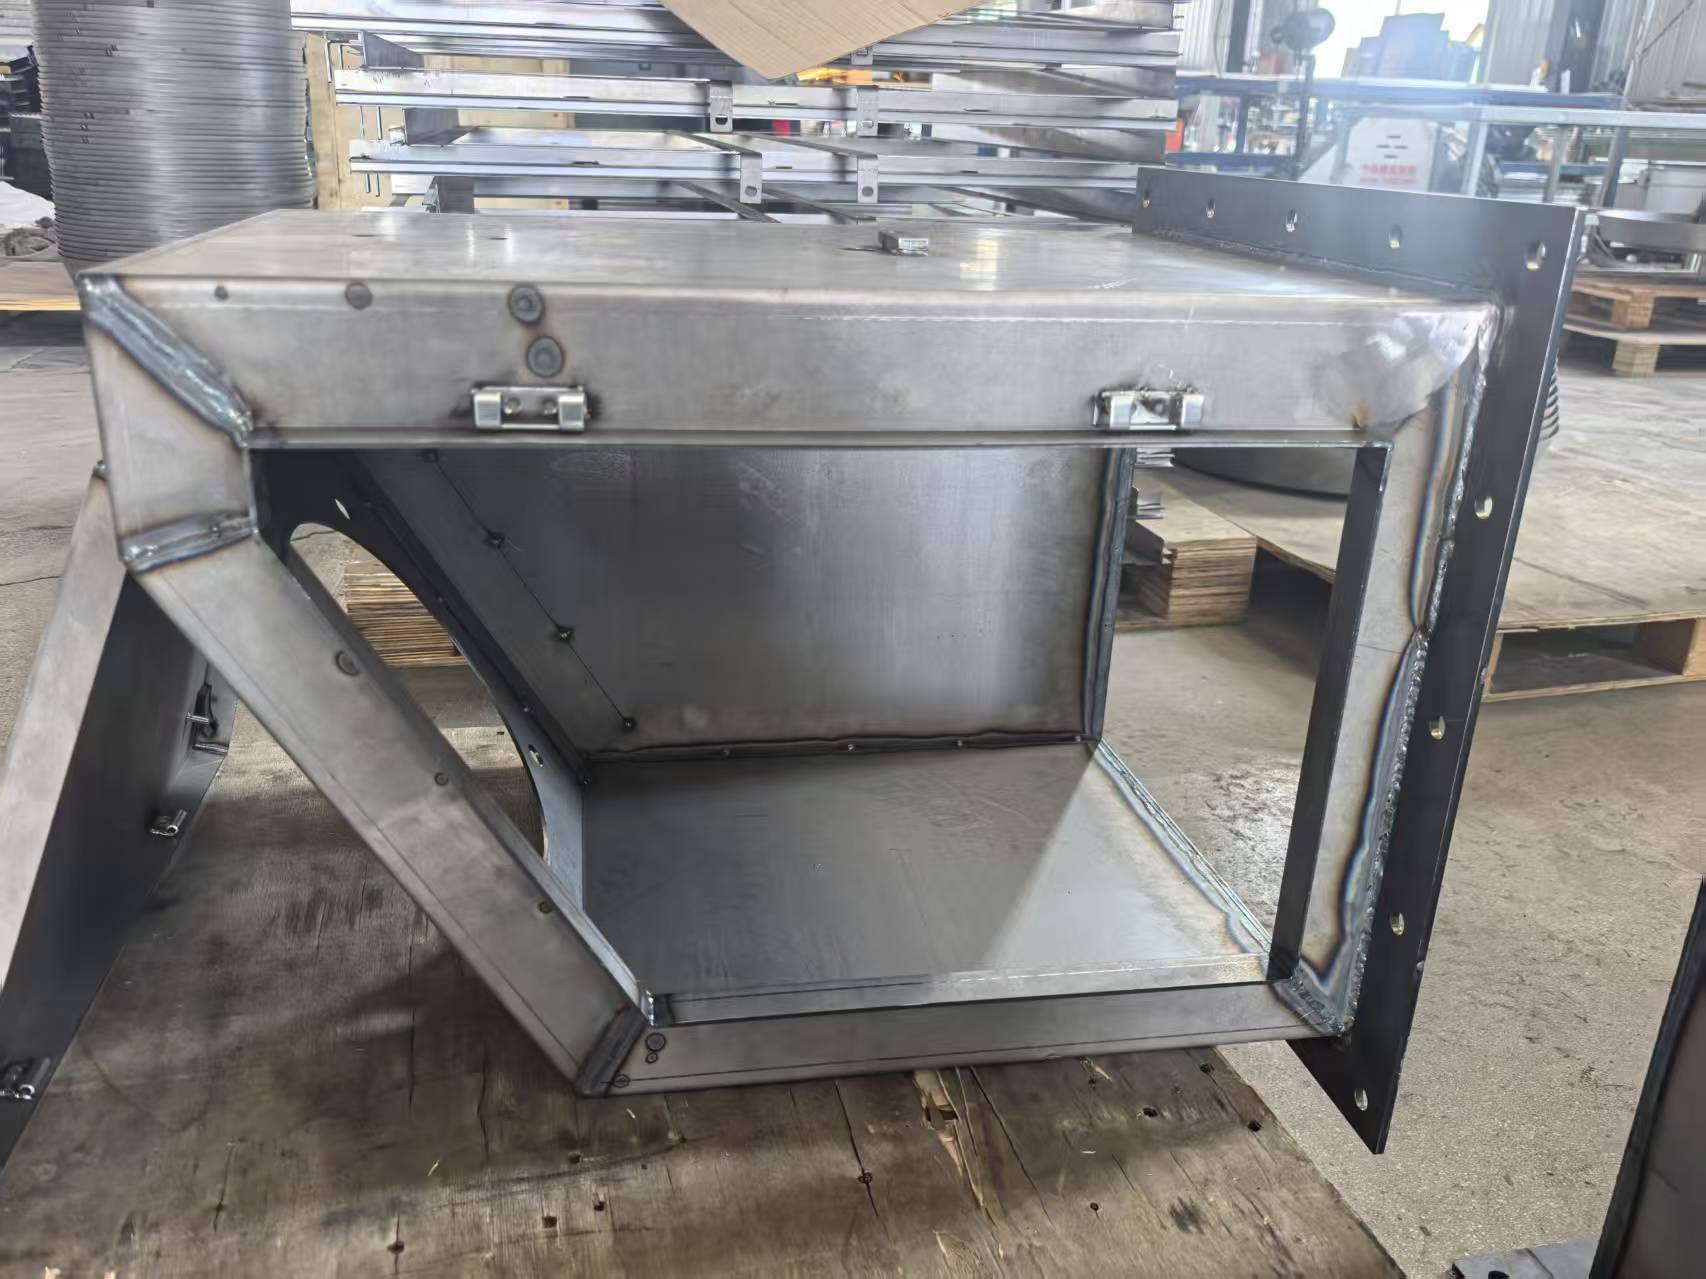
Pre-Production Verification
Sheet Metal Fabrication Process: Technical Compliance and Client Communication Protocol
The sheet metal manufacturing process requires strict adherence to engineered specifications while maintaining flexible client collaboration. This 500-word technical overview details critical workflow controls and change management procedures.
- Pre-Production Verification
- Drawing Validation
Implement triple-check protocol for:
- Drawing Validation
- Complete orthographic projections (front/top/side views)
- Dimensional consistency across 2D/3D data (ISO 2768 compliance)
- Material specifications (SPCC/SECC/Aluminum grades per ASTM standards)
- Welding Process Controls
Method Selection Matrix
|
Material |
Recommended Process |
Parameters |
|
Mild Steel |
GMAW (CO2) |
18-22V, 150-180A |
|
Stainless |
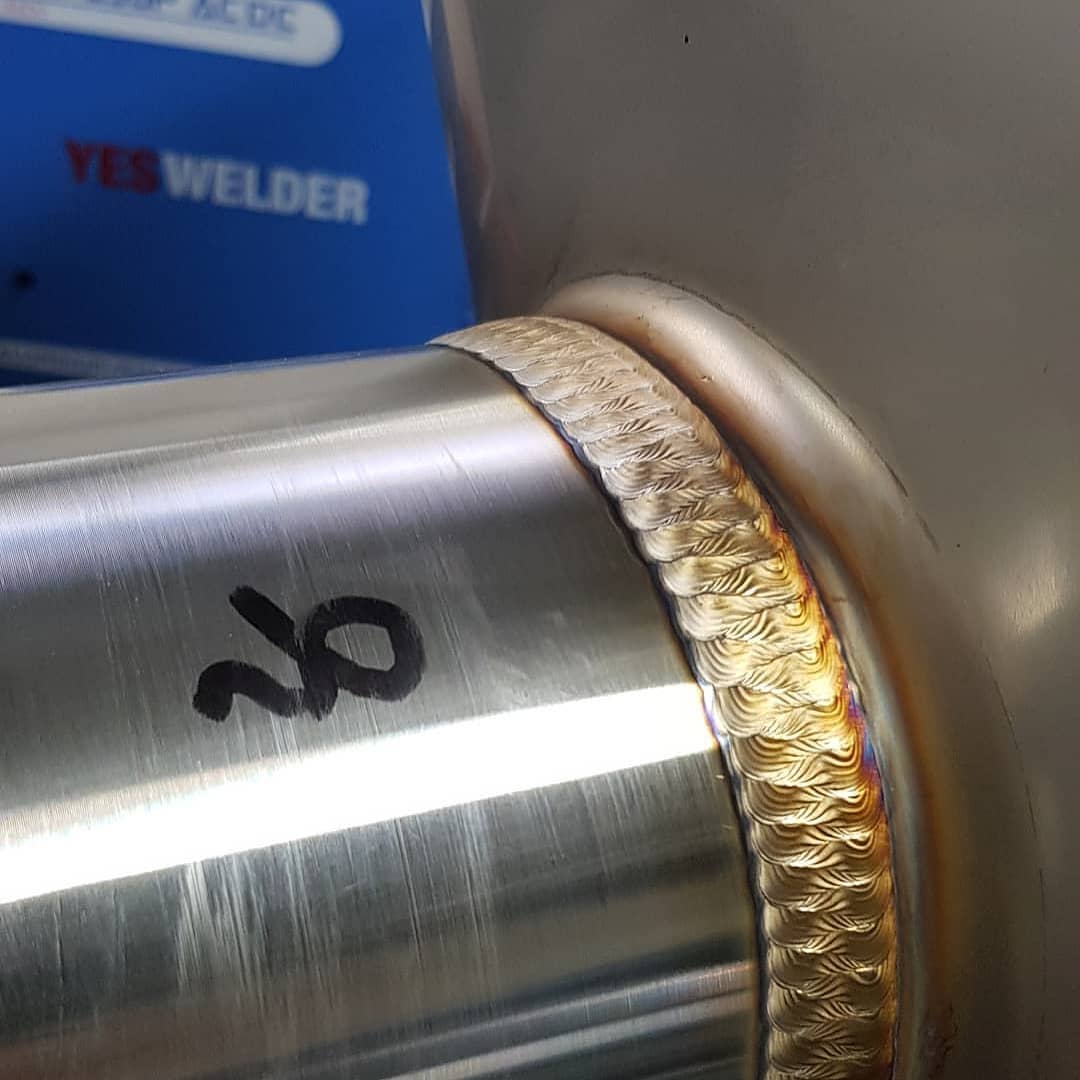
GTAW (Argon) |
DCEN, 2% Thoriated Tungsten |
|
Aluminum |
Robotic MIG |
Pulse 120Hz, 85% Ar/15% He |
Dimensional Compliance
- Real-time laser tracking (±0.1mm accuracy)
- Fixture alignment verification every 50 cycles
- Post-weld CMM inspection (GD&T profile ≤0.2mm)
- Engineering Change Order (ECO) Protocol
Process-Driven Modifications
When encountering manufacturability issues:
- Document deviation (photos/measurements)
- Conduct DFM analysis (Solidworks Simulation)
- Submit ECO request within 24hr discovery
- Client approval via signed FAX/Email
Typical Change Scenarios
- Weld sequence optimization (reducing thermal distortion)
- Alternative joint design (lap → butt joint for 20% strength increase)
- Material substitution (SUS304 → 430 for cost reduction)
- Quality Assurance System
In-Process Checks
- Weld penetration verification (macro-etch testing)
- Surface finish control (Ra ≤3.2μm per ISO 1302)
- Dimensional sampling (AQL 1.0/C=0)
Non-Conformance Handling
- Immediate quarantine of non-compliant batches
- Root cause analysis (5Why/Fishbone diagram)
- Corrective action report within 72hrs
- Client Communication Framework
Change Notification Package
- Technical impact analysis (FEA comparison)
- Cost implications (±5% accuracy)
- Lead time adjustment forecast
Approval Workflow
graph TD
A[Process Deviation] –> B(ECO Draft)
B –> C{QC Review}
C –>|Approved| D[Client Submission]
D –> E{Client Decision}
E –>|Approved| F[Implementation]
E –>|Rejected| G[Alternative Solutions]
This protocol ensures 98.7% first-pass yield while maintaining 10-15% profit margins through:
- Reduced rework costs (≤2% of project value)
- Optimized material utilization (85%+ efficiency)
- Client trust preservation (0.5% annual ECO rate)
All modifications undergo ISO 9001:2015 documented review, balancing technical feasibility with commercial requirements. Production teams receive bi-weekly GD&T training to minimize interpretation errors, supported by cloud-based drawing management systems (Autodesk Vault) ensuring single-source truth.
Leave a Message
If you are interested in any product, please contact us. We will introduce our products to you in more detail
FAQ
-
What manufacturing techniques do you offer for custom metal parts?
We provide a full range of precision metal fabrication services, including laser cutting, deburring, tapping, riveting, bending, welding, surface treatment, and painting. This allows us to support custom projects from raw material processing to finished part production.
-
How do you ensure the quality of custom sheet metal parts?
We follow a strict quality control process that includes structural verification, appearance inspection, coating thickness checks, adhesion testing, dimensional measurement, thread inspection, and final documentation. Each part is inspected before packaging and shipment.
-
Can you support custom one-off projects and small-batch production?
Yes. We support custom manufacturing for one-off prototypes as well as small-batch and volume production. Our team works from drawings and technical requirements to plan materials, processes, and lead time for each project.
-
Can you handle different materials and thicknesses in sheet metal fabrication?
Yes. We can work with different metal materials and thicknesses based on your drawings and project requirements. Suitable processes can be arranged for cutting, bending, welding, machining, and finishing to match the structure and use of the part.
-
Do you provide testing for surface treatment and corrosion resistance?
Yes. We can support quality checks related to surface treatment, including coating inspection, adhesion evaluation, and corrosion-resistance testing such as salt spray tests, helping ensure stable performance in practical applications.


