
Weld Bead Appearance: Key Indicators of Seam Strength and Weld Quality
Time : Dec 25, 2025 View : 141
Visual Characteristics of a High-Quality Weld Bead
Surface Smoothness and Consistency
A top notch weld bead stands out when you spot the right signs. The top layer needs even wave marks. These show the welder kept a firm grip and steady pace. There ought to be little or no splatter near the join.
Even width and height along the whole seam matter a lot. Any wobble or uneven spots could point to uneven heat or shaky arc. And that is a problem.
Class A welds have a beautiful texture and are very smooth; these welds look like certain plastics and appear completely seamless. That’s the kind of top finish that buyers with strict looks demands, like in gadgets or building work, go after.
Smooth shifts from the weld bead to the main metal (called toe blending) signal good skills. Sharp edges might build up stress. And they can cause early wear out.
Bead Contour and Profile
Usually, a bit rounded or level shape works best. It appears neater. Plus, it adds to the build strength. Beads that are too high (over-reinforced) may mean too much welding. That wastes stuff and time.
Undercutting—the groove at the weld edge—is a big warning. It cuts down the thick part. And it makes a spot where cracks start. Overlap at the weld toe shows weak join. That means bad sticking.
Good toe blending spreads stress evenly. This helps in parts that carry loads. Rough weld toes or sudden shifts can shorten how long it lasts under use.
Coloration and Surface Finish Indicators
For TIG welding especially, the color says a lot. Shiny, clean looks come from TIG welds done right. They point to enough shield gas. And the heat was just right.
A flat gray or rough top might mean too much heat. Or rust from not enough gas. The natural weld color on stainless steel is much darker. Keep this color gap in mind. It matters when you check weld looks on varied metals.
Structural Indicators of Seam Strength
Penetration Depth and Fusion Quality
Penetration and fusion do not always show on the top. But they are key. Full penetration joins both sides of the joint completely. This counts a ton for build parts.
Poor fusion can trap air inside. That weakens the whole thing. Welds should melt into both main metals. And they must not burn through.
For thin metal sheets, getting this right takes care. Methods like CO₂ gas-shielded welding handle it well. They work for different thicknesses.
Weld Size Relative to Joint Design
Weld size needs to fit the plan drawing. That means right leg length and thick throat. Too much welding uses extra material. It gives no real gain. Too little cuts strength.
This counts extra when making lots of items in a run. Set ways keep results steady. And they skip needless fixes.
Absence of Internal Discontinuities
Air pockets, slag bits, and hidden cracks harm without showing. X-rays or sound waves can find flaws under the skin. These checks are musts for big jobs. Think planes or tanks under pressure.
Common Weld Bead Defects and Their Implications
Porosity and Gas Entrapment
Trapped gas makes porosity—small holes in the weld. These hurt its hold. The workpiece has water or hygroscopic impurities on its surface. That’s a main reason. Water, grease, or rust on parts let out gases when heated.
Clean well before welding. And set the gas flow right. That stops this issue.
Undercut, Overlap, and Incomplete Fusion
Undercuts weaken the cut-through at key spots. Overlap happens when hot filler just sits on the base. It does not stick—that’s poor work.
Not penetrated is another usual snag. It comes from wrong speed or low power.
Cracking During Cooling Phase
Cracks often start from quick cool down. This hits hard in metals with lots of carbon. Or under left-over stress. Cracks often originate in stress concentration areas such as the start/end points of weld seams.
Pick the best filler. And heat up first if needed. That cuts the chance.
Techniques for Achieving Consistent Weld Quality
Proper Parameter Selection for Each Process Type
Each weld type—TIG, MIG, or Stick—needs its own setup. That covers voltage, power, and speed. Selection of welding current: Adjust the welding machine current according to the selected electrode diameter, referring to the welding machine’s operating instructions.
Without good tweaks, even pros face uneven work.
Importance of Cleanliness in Preparation Stages
Dirt causes many fixable weld problems. Remove rust, grease, and moisture from the welded parts. This step is huge for light metals like aluminum and stainless. They hate rust and wet.
Skill Development Through Repetition and Evaluation
No quick way here—welding takes practice over time. Steady work sharpens torch hold, angle skill, and bead spot.
Bend tests that break things and eye checks let welders judge themselves. They get better that way.
Inspection Methods for Evaluating Weld Quality
Visual Inspection Criteria for Surface-Level Assessment
A solid eye check looks for:
-
Steady bead width
-
Smooth wave marks
-
No cracks or splatter
-
Good fit with joint lines
These top signs often hint at bigger troubles below.
Non-destructive Testing Techniques
Dye penetrant finds tiny cracks the eye misses. Sound waves spot inside flaws like poor join or air holes. They do no harm to the piece. These ways are vital for safe parts in planes or cars.
Destructive Testing Applications in Controlled Settings
Bend tests push the weld joint hard. They see if it holds. Macroetching shows the side view of join and depth.
Material Considerations in Weld Appearance
Influence of Base Metal Type on Bead Formation
Aluminum takes more heat but cools quick—so watch the clock. Stainless acts different. Too much heat makes “sugaring” on the back.
Aluminum can be anodized and polished to achieve a smoother appearance, but welded surfaces on stainless steel generally look better.
Pick metals smart. It sets what you expect for looks and extra work after.
Matching Filler Material to Base Metal Properties
Bad match in heat stretch can crack later. Right filler rod keeps the metal bond steady. This grows key in joins with mixed metals. There, stretch differs a lot.
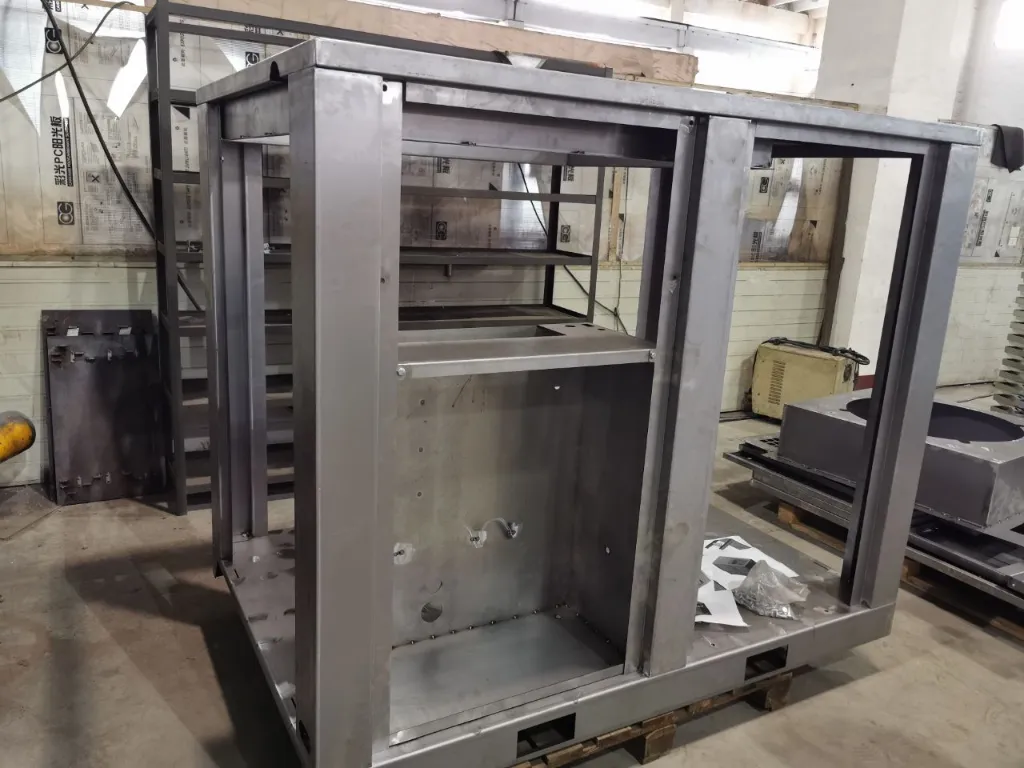
Integration of Welding into Fabrication Workflows
Role of Welding in Sheet Metal Fabrication Projects
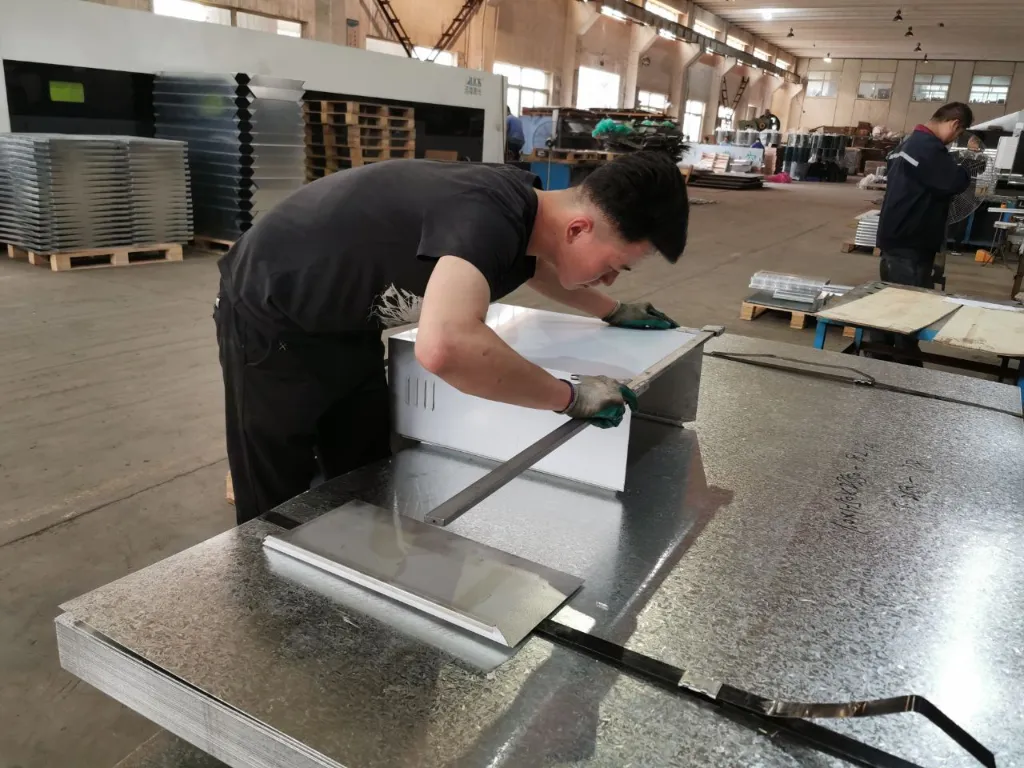
Welding does more than work—it looks good too. For companies like Deshibo, which specialize in custom sheet metal fabrication, a clean welding appearance reflects the overall level of craftsmanship.
From boxes to supports, a neat join shows pro work.
Coordinating Welding With Other Manufacturing Processes
Weld joins must hit the limits from cut or bend steps. Grind or shine after weld if the end needs it. Line up well here. It keeps fits right without big fixes later.
Post-Weld Evaluation and Finishing Techniques
Cleaning Procedures After Welding Operations
Clear slag (in Stick welding) or rust (in TIG). It boosts looks and fight against rust. Brush stainless welds to keep rust away. Do not skip if looks or long life count.
Final Dimensional Checks Before Assembly
Check pieces for straightness, right angles, and join fit before lines. Firms like Deshibo build these into QA. It holds high make standards. It saves time—and trouble—later on.
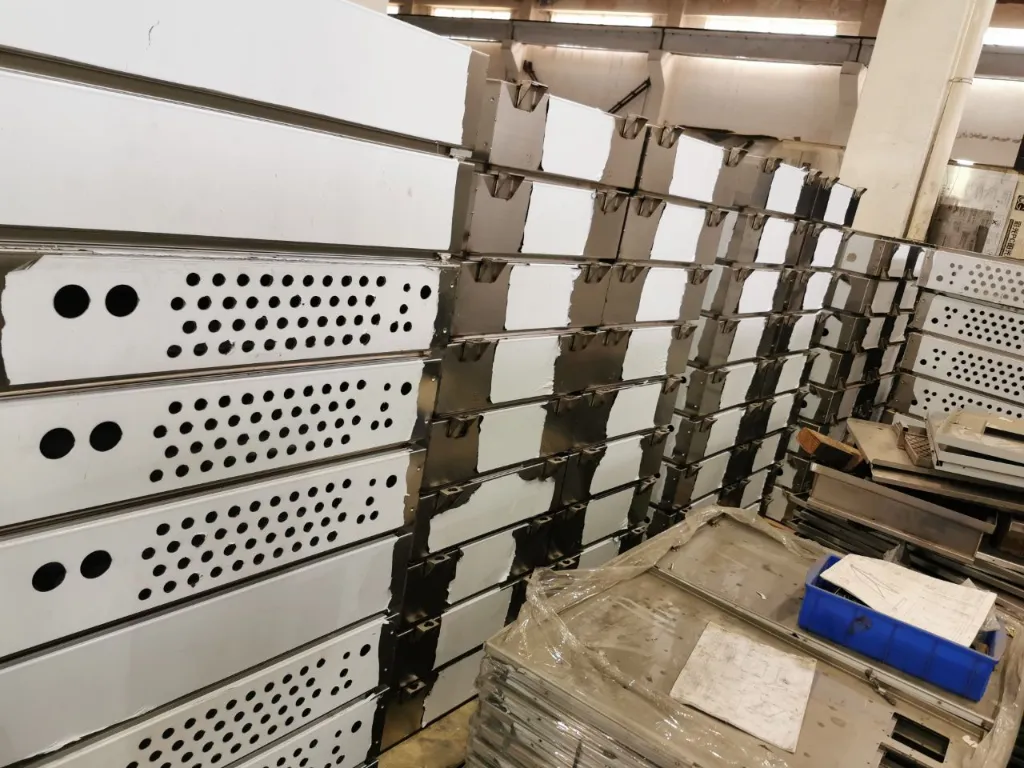
Optional Finishing Treatments Based on Application
Some jobs need passivation or powder coat after weld. It ups rust fight or looks. Powder coating can cover most of the defects associated with Class B welds. If perfect sight is not key, this works fast. No need for extra cash on A-grade welds.
Deshibo handles all finish types, from rough C-class beads to shiny A-grade welds, based on your cash and use. When smooth looks join strong build, that’s real skill at work.
FAQ
Q: What are the visual signs of a high-quality weld bead?
Consistent ripple patterns, uniform width and height, minimal spatter, smooth toe blending, and a slightly convex profile.
Q: What does undercut in a weld indicate?
Undercut is a groove along the weld edge that reduces throat thickness, creates stress risers, and can lead to cracks or failure.
Q: How can you identify porosity in welds?
Porosity appears as tiny holes caused by gas entrapment from moisture, oil, or rust; it weakens the weld and can often be prevented by proper cleaning.
Q: What is the ideal profile for a strong weld bead?
A slightly convex or flat profile is preferred for better strength and appearance; avoid excessively tall beads or overlap.
Q: Why is proper toe blending important in welding?
Smooth transitions between weld bead and base metal distribute stress evenly, reduce fatigue risks, and prevent premature failure.
